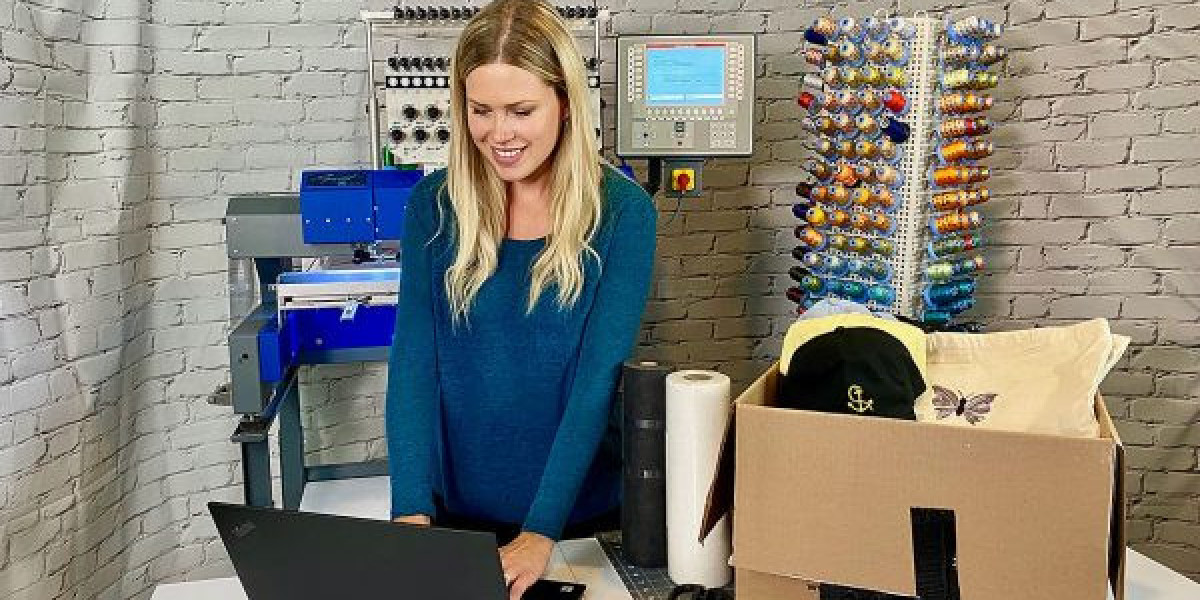
So you have an image saved as a JPG—a logo, a sketch, a favorite phrase in a cool font—and you can just see it embroidered on a bag or a shirt. The dream is clear, but the path feels murky. You know you need a PES file for your Brother embroidery machine, but the world of digitizing software looks complex, expensive, and frankly, like a whole new skill to learn. What if you could skip that steep learning curve entirely? You can. The secret isn’t in mastering a complicated program on your computer; it’s in understanding the professional pipeline. To truly convert JPG to PES like a pro, you bypass the software hassle and leverage a simple, powerful truth: professionals rarely digitize their own everyday artwork.
They outsource to specialists. And with modern online services, you can, too. This guide will show you the efficient, “no-software” method to get a high-quality, stitch-ready PES file from your JPG, every single time.
Why You Can’t Just “Convert” a JPG to PES
First, let’s demystify the core challenge. A JPG is a raster image—a grid of colored pixels. It’s designed for display. A PES file, however, is a complex set of vector-based, sequential instructions. It tells your Brother machine exactly where to move, what color thread to use, what type of stitch to make (satin, fill, run), and in what order.
You can’t simply change a .jpg file extension to .pes any more than you can turn a photograph of a cake into an edible dessert by renaming it. The process required is called embroidery digitizing. It’s a translation from a visual language (pixels) to a mechanical one (stitch coordinates and commands). Trying to do this with free, automated “converter” software almost always leads to disastrous results: thread breaks, puckered fabric, and designs that look nothing like your original image.
The Pro Mindset: Separating Design from Digitizing
This is the crucial shift in thinking. A professional embroiderer focuses on their craft—hooping, stabilizing, threading, and running the machine perfectly. They partner with a skilled digitizer who focuses on their craft: translating artwork into flawless stitch data.
Your goal isn’t to become a digitizer overnight. Your goal is to get a professionally digitized PES file from your JPG. Once you have that perfect file, you can stitch it out beautifully for years. This approach saves you time, money on expensive software, and immense frustration.
Your Hassle-Free, Step-by-Step Pro Process
Here is your actionable blueprint to go from JPG to pro-grade PES, using the online service model.
Step 1: Prepare Your JPG Like a Pro Client
Before you even open a browser, you need to set your digitizer up for success. The quality of your input directly impacts the quality of your output.
-
Start with the Best Possible Image: If you have a vector source (like an .AI, .EPS, or .SVG file from a designer), use that. Vector files are infinitely scalable and have clean edges. If you only have a JPG, make sure it’s high-resolution. A tiny, blurry, 50×50 pixel logo will fail.
-
Simplify and Clarify: Open your JPG in a basic program like Paint or Preview. Crop in tightly to remove any irrelevant background. If the image has a busy background, see if you can find a version with a solid, contrasting background (a white logo on a black JPG is ideal).
-
Know Your Specs: Decide and note down:
-
Finished Size: How many inches (or millimeters) wide/tall should the embroidery be?
-
Garment Type: Is this for a stiff cotton cap, a stretchy polo shirt, or a plush towel? This is critical.
-
Thread Colors: Do you have specific brand colors (like Pantone) or are you open to suggestions?
-
Step 2: Choose Your Professional Digitizing Service
This is where you find your “digitizing partner.” A quick search for “professional embroidery digitizing service” will yield many options. Look for services with:
-
Clear pricing (often based on stitch count or size).
-
A simple upload process.
-
Turnaround times (many offer 24-48 hours).
-
Good customer reviews.
-
A guarantee or revision policy.
Popular and reliable options include companies like EZD, SewingSupport, or The Digi Den. You are paying for expertise, not just file format conversion.
Step 3: The Ordering & Communication Portal
Once you’ve picked a service, navigate to their “Order Now” or “Get a Quote” page. The process is usually very straightforward:
-
Upload Your File: Attach your perfectly prepared JPG.
-
Fill in the Specs Form: This is where your prep work pays off. You’ll input:
-
Desired Format: Select PES (for Brother). A true pro service will offer all machine formats from the same digitized design.
-
Size: Enter your desired dimensions.
-
Fabric/Use: Select from a dropdown (e.g., “Knitted Apparel,” “Caps,” “Toweling”).
-
Special Instructions: This is key. Write something clear like: “This is for the left chest of a polyester polo shirt. Please digitize for clean edges and minimal density to avoid puckering.” The more detail you give, the better.
-
-
Checkout: Pay the fee (typically between $10 and $30 for a standard logo).
Step 4: The Magic Happens (Behind the Scenes)
After you submit, a human digitizer—not an automated software—takes over. They will:
-
Analyze your JPG and your specifications.
-
Manually trace the key elements, creating clean vector outlines.
-
Strategically assign stitch types (satin for text, fill for large areas).
-
Apply the correct underlay stitching to stabilize your specific fabric.
-
Set precise stitch directions and densities to prevent puckering.
-
Add pull compensation so shapes stitch out correctly (e.g., a digitized circle stitches as a true circle, not an oval).
-
Program in clean trim and color change commands.
-
Save the final design in the PES format you requested.
Step 5: Receive, Test, and Stitch
Within your promised turnaround time, you’ll receive an email with your PES file ready for download.
-
The Critical Test Run: The first thing you do is stitch it out on a scrap piece of your actual project fabric. Hoop it with the same stabilizer you plan to use. This is non-negotiable for a pro.
-
Evaluate the Result: Does it look crisp? Is the fabric lying flat? Do the details match your JPG?
-
Request Revisions if Needed: Reputable services include 1-2 rounds of minor revisions. If something is off (e.g., “the satin stitches on the text are too dense”), send them a photo of the stitch-out with clear feedback. They will adjust the file and send a new PES.
Why This Method is the Real “Pro” Move
-
Guaranteed Quality: You get a file built with professional techniques (underlay, pull compensation) that you’d spend years learning.
-
Cost-Effective: No upfront investment in $1,000+ software. You pay per design, which is a business expense.
-
Time is Money: You save dozens of hours of failed attempts, learning software, and troubleshooting bad files.
-
Scalability: Need the same design in a different size or for a different fabric? You can simply re-order, often at a discount.
-
Focus on Your Craft: You spend your time doing what you love and excel at—the actual embroidery—not struggling with digitizing.
Conclusion: Your Shortcut to Professional Results
Trying to force cheap software to convert JPG to PES is the amateur’s trap. It leads to wasted thread, ruined garments, and endless frustration. The true professional knows their strengths and delegates the rest.
By treating digitizing as a specialized service, you unlock a world of possibility. You can take any JPG—a company logo, a child’s drawing, a custom phrase—and transform it into a factory-perfect PES file, ready to stitch with confidence. This streamlined, “no-software-hassle” approach is not a compromise; it’s the smart, efficient, and truly professional path to bringing your embroidery visions to life. Upload your best JPG, let an expert handle the complex translation, and get ready to stitch like the pro you are.
Visit our Website: ERP Software India | Accounting, POS, HR & Warehouse Management